Install CUDA and TensorFlow in WSL2
Install directly in the system without using Anaconda.
Install CUDA
First, find the corresponding CUDA version according to the TensorFlow you want to install, and install the corresponding CUDA. For example, I want to install TensorFlow version 2.12, which uses CUDA 11.8, so I download CUDA from here. I use Linux-X86-64-WSL-Ubuntu-2.0, and I choose the installation package of runfile(local). This is the most convenient and recommended!
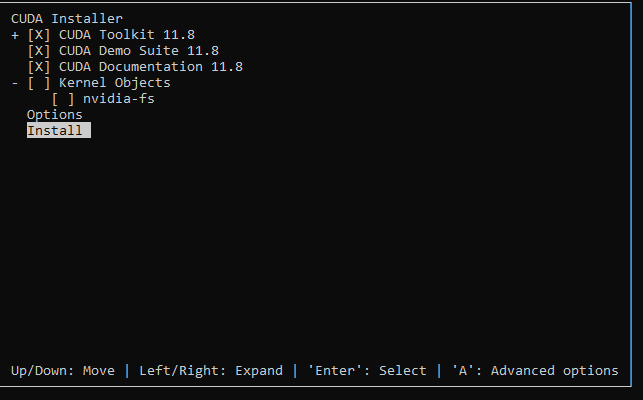
In the prompt box that pops up, select Install:
After installation, you need to manually add environment variables in
~/.bashrc, add:
1 | export LD_LIBRARY_PATH=${LD_LIBRARY_PATH}:/usr/local/cuda-11.8/lib64 |
relaunch terminal or source ~/.bashrc.
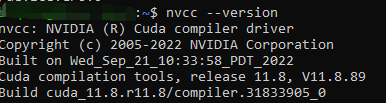
At this point, enter nvcc --versions to check whether
the installation is successful.
Install TensorFlow
The installation instructions of the HPCC GNN Bundle mention that
Tensorflow should be installed using su so that all users can see it, and must be installed using the same version of Python3 as is embedded in the HPCC Systems platform.
Enter root mode,
su rootInstall
cuDNN:pip install nvidia-cudnn-cu11==8.6.0.163Add environment variables in
~/.bashrc:1
2CUDNN_PATH=$(dirname $(python -c "import nvidia.cudnn;print(nvidia.cudnn.__file__)"))
export LD_LIBRARY_PATH=$LD_LIBRARY_PATH:$CUDNN_PATH/libUpgrade pip:
pip install --upgrade pipInstall TensorFlow using pip:
pip install tensorflow==2.12.*Check whether the installation is successful: exit root mode and run
python3 -c "import tensorflow as tf; print(tf.config.list_physical_devices('GPU'))"Or you can use this to show the name of GPU(s):
1
2
3
4import tensorflow as tf
gpu_device_name = tf.test.gpu_device_name()
print(gpu_device_name)